
Project Tomorrow Tips: 12 Habits That Keep Your Base Alive
Twelve practical Project Tomorrow tips for power, oxygen, terraforming placement, wave timing and defense, based on the demo and the Early Access build.
Most failed Project Tomorrow runs are not lost to weak turrets. They are lost to a build placed outside the power grid, a terraformer left outside the wall, or a wave called early with no repair reserve. Source: Project Tomorrow on Steam ↗
Project Tomorrow is a small game with a short tutorial, which means it lets you make expensive mistakes before you understand why they were expensive. These twelve habits are the ones that change a run most. They are ordered roughly by how early they matter.
1. Defend the announced direction, not the whole map
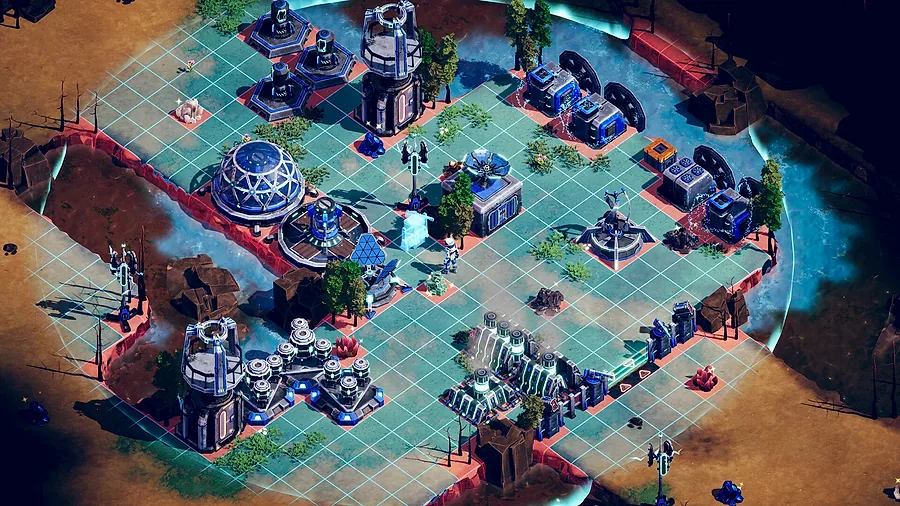
The first region attacks from one direction. The game tells you which one. Building walls around the entire base wastes materials and spreads turrets too thin. Put one short wall line across the approach, one turret behind it, and ignore the quiet sides until a region with multiple attack lanes forces you to split.
In Tidehaven and later regions, scout the perimeter before you build. The minimap shows approaches, and the first wave of a new region reveals the lanes. Do not assume the previous region's geometry carries over.
2. Put the first windmill in the middle, not at the edge
The windmill is both a power source and a build-radius anchor. Placing it at the edge of the clearing gives you a lopsided build area and puts an expensive, fragile building on the front line. Place it centrally, then use Power Relays to reach new resource nodes.
A second windmill is usually better than a relay once you need more power, but a relay is cheaper for pure range. The two jobs are different: the windmill generates, the relay extends. Do not use a relay as a generator.
3. Keep one building's worth of power in reserve
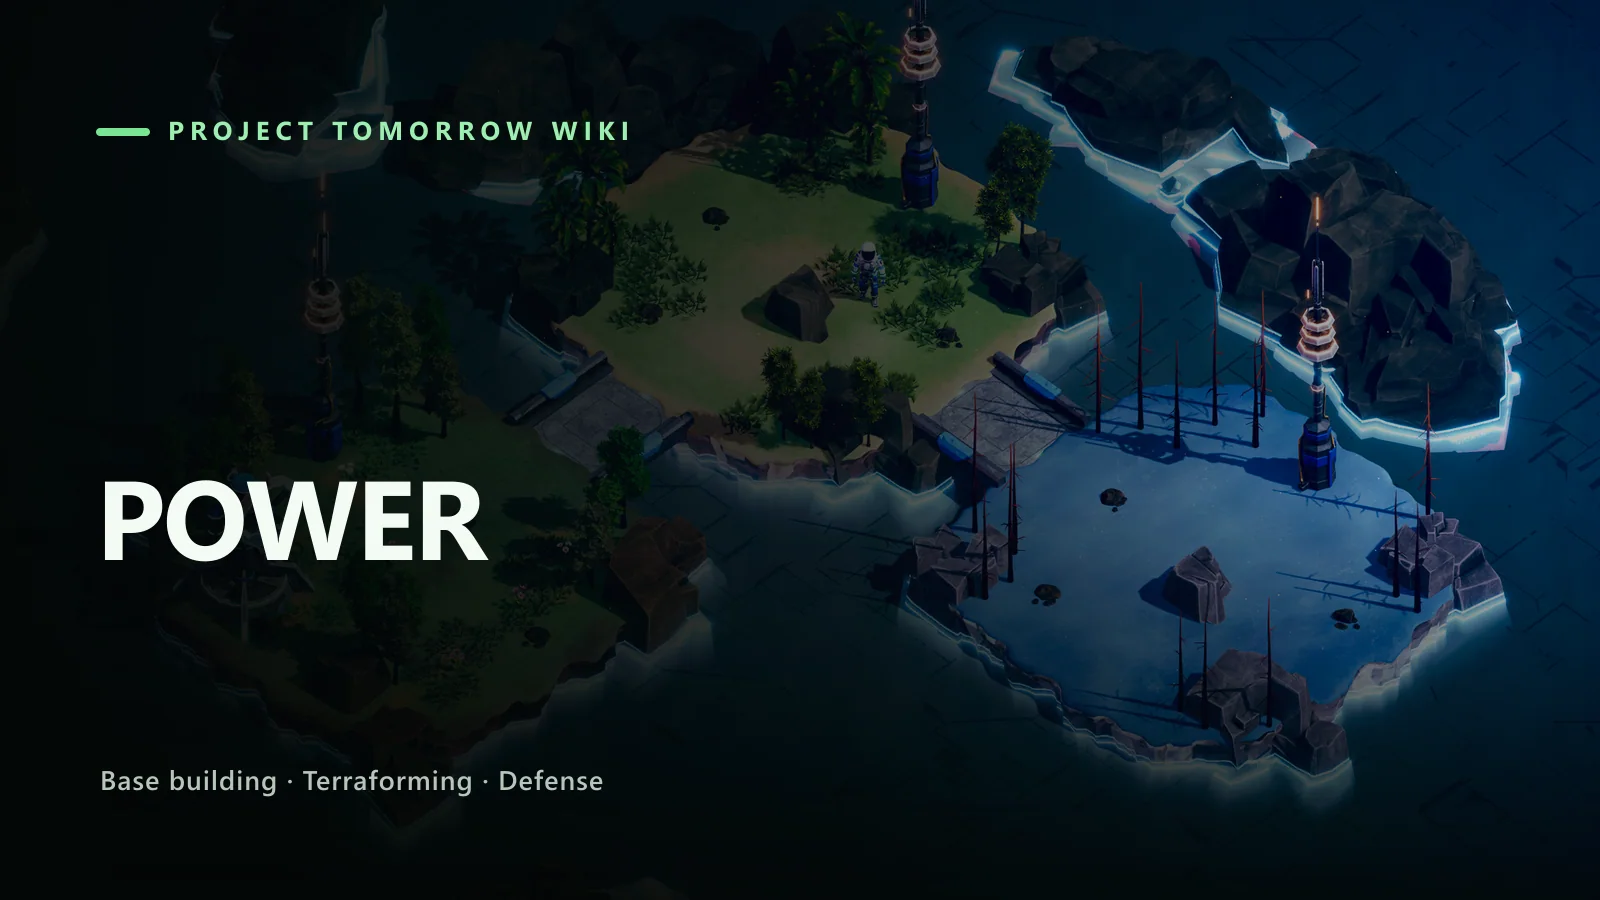
The demo's power system does not shut down the whole base on overload. It shuts down the most recently built structure. That is forgiving, but it is also easy to miss: your new turret is dark, the wave starts, and you think the turret is broken.
Before each wave, open the power view and check the reserve. If the bar is red, either add a windmill or remove a non-essential building. A reserve of one windmill's output is enough for most of the first region.
4. Point the oxygen emitter at the future, not the present
The oxygen emitter creates green ground around itself. Place it on the side of the base you intend to expand toward, so the green zone grows in a useful direction. Placing it in the middle of the starting clearing feels safe, but it wastes the early green zone on ground you already control.
The emitter is also a target. Build it behind the wall line, or accept that you will need to defend it. Aliens prioritize the machines that are changing the planet.
5. Stack terraforming machines instead of scattering them
Adjacent terraforming buildings receive a bonus, roughly 20% per additional machine in the demo. Three machines in a triangle produce more than three machines spread across the map, and they are easier to defend with one turret. Build a cluster, upgrade it, then start a second cluster.
This is also how the 0.1% achievement works: ten Hydro Infusers, ten Oxygen Emitters and ten Thermal Drills in a single region. You do not need to do that on your first run, but the placement logic is the same.
6. Watch the wave timer, not the resource counter
Every gathering action advances the next wave. That means the resource counter is a trap: the more you gather, the sooner you fight. Keep an eye on the timer while you are harvesting. If the countdown is under a minute and your wall is not finished, stop harvesting and build.
The demo lets you call the next wave early by holding the wave key. Use this when you are fully prepared and want to bank the upgrade cores sooner. Do not use it to skip preparation.
7. Repair between waves, never during
In the demo, you cannot repair during a wave. Walls that survive a wave repair themselves at the end; walls that are destroyed must be rebuilt manually. That makes the between-wave window the only time you can fix a breach.
Make a habit of walking the wall line after every wave. Replace destroyed segments, check the gate, and repair anything below half health. If you cannot afford a full repair, shorten the line instead of leaving a hole.
8. Deconstruct freely
Deconstruction refunds the full cost in the demo. That makes early experimentation cheap. If a turret faces the wrong lane, move it. If a windmill is in the way of your planned wall, move it. The only cost is the time you spend rebuilding.
This also applies to terraforming machines. If an emitter is outside the defense perimeter, deconstruct it and rebuild it inside rather than trying to wall it off later.
9. Build the workbench before the second wave
The workbench is cheap and unlocks suit upgrades, weapons and consumables. A character with a better weapon and a medical item contributes during a wave; a character with the starting pistol and no supplies is a spectator. Build it after the first windmill and oxygen emitter, before you spend resources on a second turret.
Craft one oxygen supply and one medical item before the first wave. They are insurance against a bad path or a breach.
10. Use the Watchtower during waves
The Watchtower increases your range and fire rate when you enter it. It also keeps you out of melee range. If you built one, use it. Standing on the ground next to a turret is worse than standing in the tower, and chasing enemies outside the wall is worse than both.
Do not build a Watchtower on every wall segment. One tower covering the main approach is enough for the first region. In later regions, build a second tower on the lane that receives flying enemies.
11. Treat flying enemies as a separate defense problem
Flying enemies ignore walls. They fly over your carefully built line and attack the buildings behind it. In Tidehaven, this becomes a real threat, and the Interceptor turret is the dedicated answer: strong against air, weak against ground.
Do not replace all your ground turrets with Interceptors. Keep a mixed line: Pulse or Gauss for the ground lane, Interceptor coverage near the buildings that flying enemies target. The turrets guide→ explains the roles without inventing stats.
12. Build storage before you need it
Storage Containers expand your resource capacity. Once connected to the network, the Resource Uplink lets you use stored materials from anywhere, which removes the "run back to base" loop. Build one storage container before the second region and keep it inside the defended area.
The Uplink is not a substitute for carrying supplies. It moves resources, not your character. If you are deep in the wasteland and your oxygen runs out, a full warehouse will not save you.
Bonus: do not overbuild housing
Housing is the most tempting way to spend resources and the least useful before your defense is stable. Population increases only after a survived wave, and each Habitat costs more than the last. Build one when you can hold the wave, then add another after each success. A base with ten empty habitats and one broken wall is a base that is about to lose both.
FAQ
What should I build first in Project Tomorrow?
A windmill, then an oxygen emitter, then a workbench. The windmill gives power and build range; the emitter gives oxygen and green ground; the workbench gives you gear before the first wave.
Should I call waves early in Project Tomorrow?
Only when your wall is repaired, your turrets are powered, and you have supplies. The early call gives you upgrade cores sooner, but it skips the preparation window.
How do I stop running out of oxygen?
Stay inside the green zone, build more Oxygen Emitters, and carry an oxygen supply for long trips. The wasteland drains oxygen continuously.
Can I move buildings in Project Tomorrow?
You can deconstruct and rebuild them. In the demo, deconstruction refunds the full cost.
Sources
- Project Tomorrow on Steam ↗
- Project Tomorrow Steam news ↗
- Project Tomorrow achievements ↗
- Wolfman Mazy demo gameplay ↗
Official source: Project Tomorrow on Steam ↗ Project Tomorrow guides and walkthroughs