
Project Tomorrow Base Building: Grid, Power and Expansion
How base building works in Project Tomorrow: hex-grid placement, windmill range, walls and gates, repair rules and a clean expansion order.
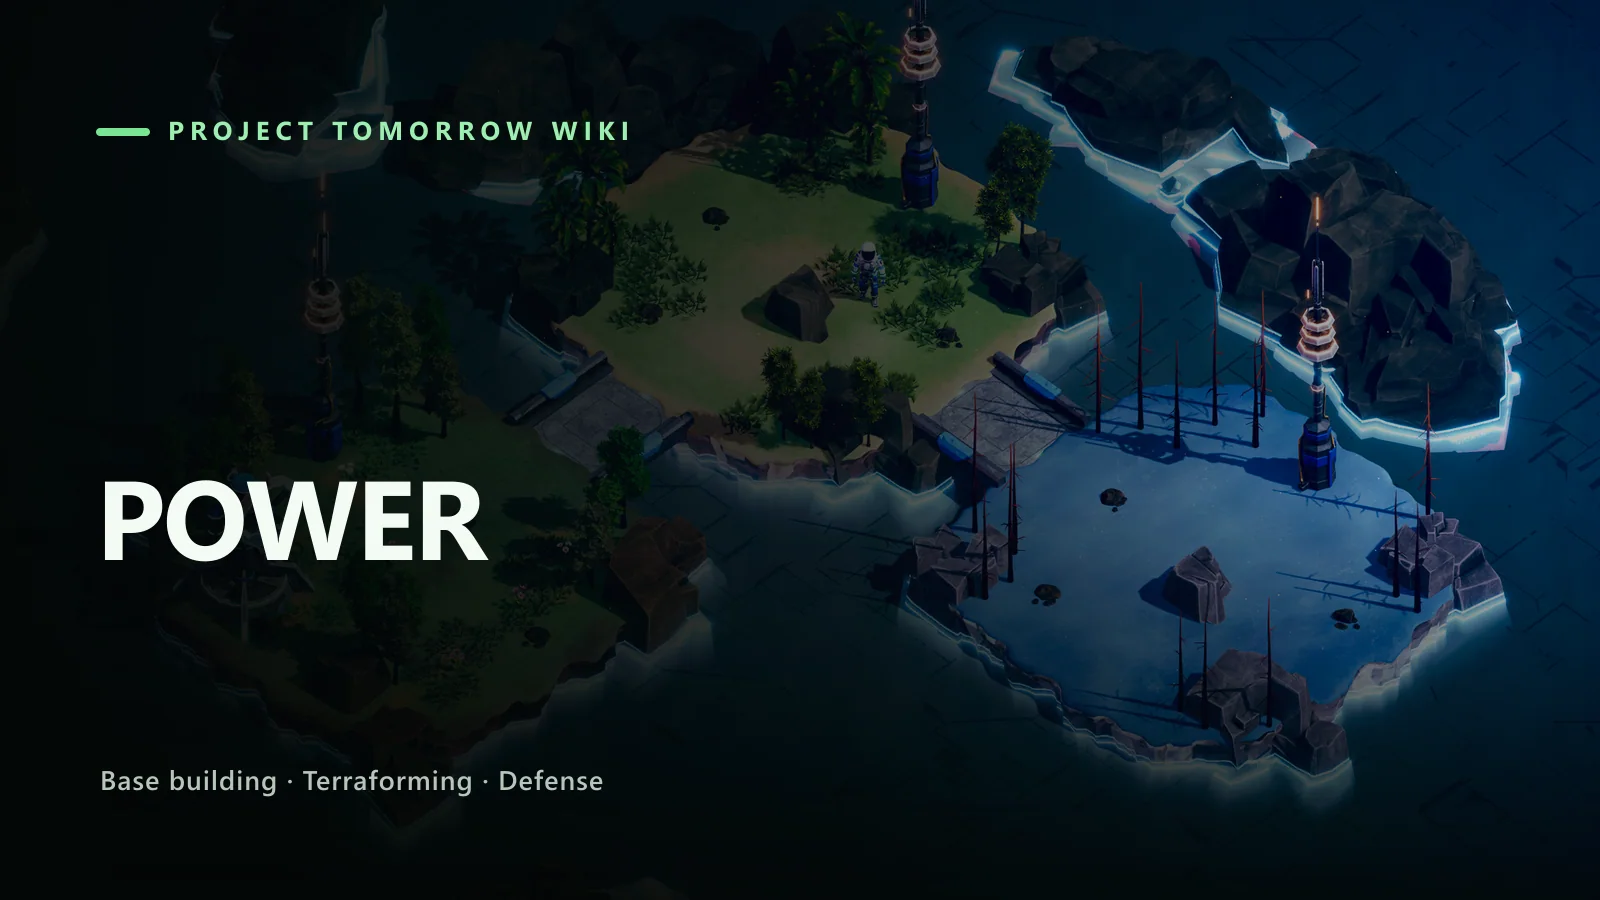
Bases in Project Tomorrow grow inside a power radius on a hex grid. Windmills open buildable ground, walls snap into lines, and terraforming machines need to sit inside the defended area because aliens target them first. Source: Project Tomorrow on Steam ↗
Project Tomorrow is a base builder before it is a survival game. The map is a grid of hexes, the buildings are placed on footprints, and the base is limited by power and terrain rather than by a fixed plot. That freedom is the appeal and the problem: a new player can build a sprawling settlement with no defensive shape and lose it to a single lane.
This guide covers the mechanics of placement, the role of each building category, and an expansion order that keeps the base compact enough to defend.
The hex grid
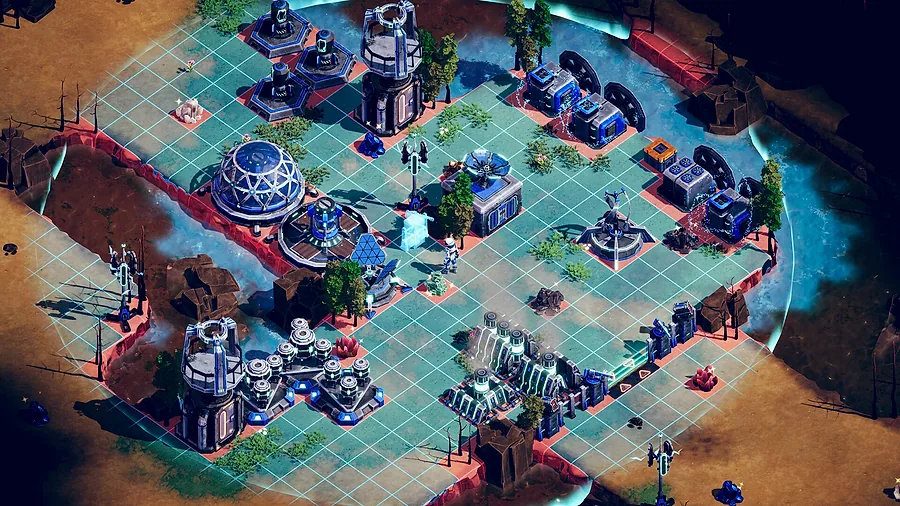
Every building occupies one or more hex cells. The grid is visible when you enter build mode. Placement is valid only when:
- The footprint is inside the power radius.
- The terrain is buildable (not water, cliff or blocked by a nest).
- No other building or resource node occupies the cells.
- The building's own requirements are met (power, oxygen, heat or a crafted component).
The footprint preview turns red when placement is invalid, but red does not tell you why. Check the power radius first, then the terrain, then overlap. A building that refuses to place near a resource node may be blocked by the node's own cell.
Rotate the camera before placing long structures. A wall line that looks straight from one angle can be a zigzag on the grid.
Power defines the buildable area
The windmill projects the initial build radius. Power Relays extend it. You cannot build outside the radius, even if you have the materials. That is the single most important spatial constraint in the game.
The practical consequence is that expansion is a sequence:
- Place a windmill or relay at the edge of the current radius.
- Confirm the new circle overlaps the old one.
- Build the first structure in the new area.
- Add defense before you add economy.
Do not leapfrog a relay into the wasteland with no connection back to the grid. A disconnected building is unpowered and undefended.
The building categories
Project Tomorrow's 20 launch buildings fall into a few roles:
- Power — Windmill, Power Relay, Solar Panel (later).
- Terraforming — Oxygen Emitter, Hydro Infuser, Thermal Drill.
- Defense — walls, gates, Pulse Turret, Gauss Cannon, Interceptor, Nova Mortar, Watchtower.
- Housing and population — Habitat, Barracks, Settlement-related buildings.
- Production and storage — Workbench, Storage Container, Grow Pod, water production, Resource Hub.
- Mobility and control — Teleport Relay, Resource Uplink.
You do not need one of each. A compact base with one power district, one terraforming cluster, one production row and one wall line is stronger than a spread-out base with every building.
Walls and gates
Walls snap to each other. Drag a line rather than tapping segment by segment. Gates need a clear path on both sides and should be placed where your character can retreat through them, not in the middle of the enemy approach.
In the demo, walls that survive a wave repair themselves at the end of the wave. Walls that are destroyed must be rebuilt manually. You cannot repair during a wave. That makes the wall line a consumable: build a second layer behind the first if you expect a breach.
Do not wall the entire perimeter. A wall that faces empty ground is wasted materials and a false sense of security. Wall the announced approach first, then extend as the region reveals more lanes.
The terraforming cluster
Terraforming machines are the reason the base exists, and they are the primary target. Place them:
- Inside the wall line.
- Inside the power radius.
- Adjacent to each other for the stacking bonus.
- Behind at least one turret.
- Away from the gate, so a breach does not immediately reach them.
A compact cluster is easier to defend and produces a stronger adjacency bonus than a scattered set of machines. The terraforming guide→ covers the bonus and the upgrade path.
Production and storage
The Workbench, Storage Container and Grow Pod are support buildings. Put them in the inner ring, near the power source, where they are least exposed. A Storage Container outside the wall is a gift to the aliens; a Workbench in the front line is a building you will lose in the first breach.
The Resource Uplink connects storage to your crafting network. Build the container first, then the uplink. The uplink does not create storage; it only extends access.
Housing and population
Habitats are the population buildings. They consume a Housing Frame and Oxygen, and the Oxygen cost rises with each additional Habitat. Population increases after a survived wave, not at placement.
Place Habitats in the safest part of the base, inside the green zone and the power grid. Do not build a housing district before your wall line is stable. A Habitat is a long-term investment; a wall is immediate survival.
Barracks convert settlers into soldiers in the mid-game. Build the Barracks after you have a population surplus, not before. The population guide→ covers the chain.
The Teleport Relay
The Teleport Relay is the quality-of-life building that changes exploration. Once it is powered and the population target is met, you can leave the region without walking back across the map. Build it early in every region, inside the wall, and protect it.
The relay is also a fallback point. If a wave breaks the front line, retreating to the relay is faster than running through the base. Treat it as an emergency exit, not a decorative building.
A clean expansion order
For a new region:
- Windmill at the centre of the starting clearing.
- Oxygen Emitter on the expansion side.
- Workbench and first gear.
- Wall line across the announced attack direction.
- Pulse Turret behind the wall.
- Hydro Infuser adjacent to the emitter.
- Storage Container and Resource Uplink.
- Habitat after the first survived wave.
- Second windmill when the power bar passes 70%.
- Teleport Relay when the population target is in sight.
This order keeps defense ahead of economy and economy ahead of housing. It is not the only viable order, but it is the one that survives the first three waves without a rebuild.
Common building mistakes
Building outside the radius. The footprint will not place. Extend the grid first.
Walling the wrong side. The first region announces one direction. Wall that side, not the whole map.
Putting the emitter in the middle. It wastes the green zone on ground you already control. Point it at the future.
Spreading turrets. One turret covering the gate beats three covering empty ground.
Building housing too early. Population is gated by survived waves. Defense is the bottleneck.
Forgetting the repair reserve. Keep enough Iron to rebuild a wall segment after every wave.
The base layouts guide→ turns these rules into specific patterns for one-lane, two-lane and winter bases. If your base is dying during waves, the defense guide→ is the next read.
FAQ
Why can't I place a building in Project Tomorrow?
The footprint is outside the power radius, on invalid terrain, overlapping another building or missing a requirement. Extend the grid with a relay first.
Do walls repair themselves?
In the demo, walls that survive a wave repair at the end of the wave. Destroyed walls must be rebuilt manually.
Where should I put terraforming machines?
Inside the wall, inside the power radius, adjacent to each other, and behind a turret. They are the aliens' primary target.
How big should my base be?
As small as the current region allows. A compact base is easier to defend and cheaper to power. Expand only when a resource or population goal requires it.
Sources
Official source: Project Tomorrow on Steam ↗ Project Tomorrow guides and walkthroughs