
Project Tomorrow Base Layouts: Five Patterns That Hold
Five Project Tomorrow base layouts for one-lane starts, multi-lane regions, terraformer clusters, forward mining outposts and Winterbloom's layered defense.
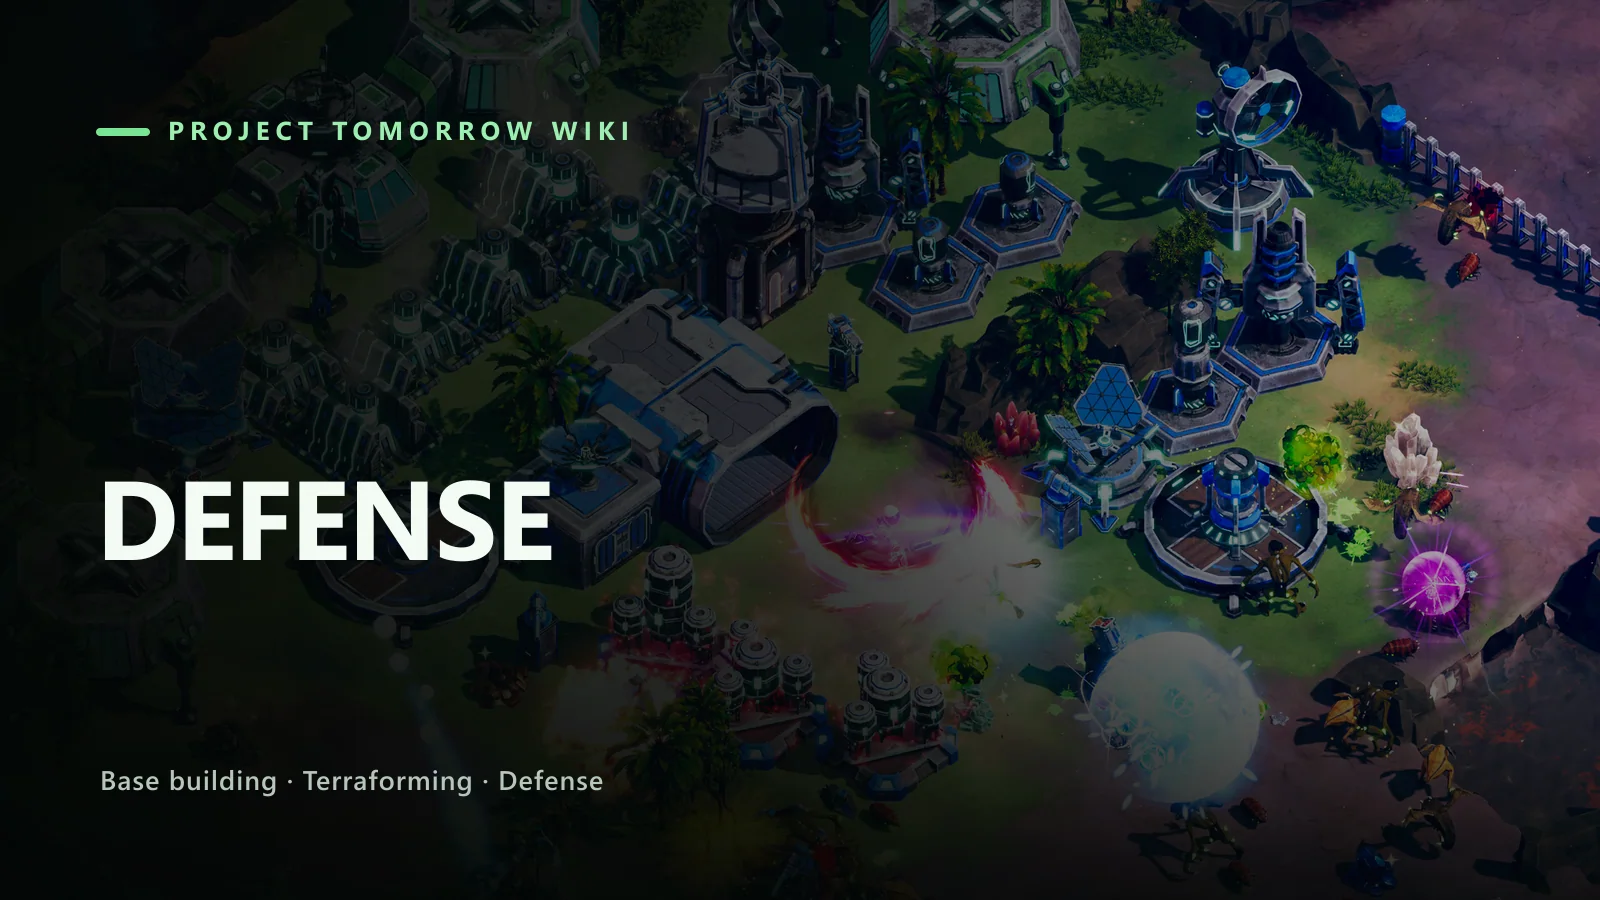
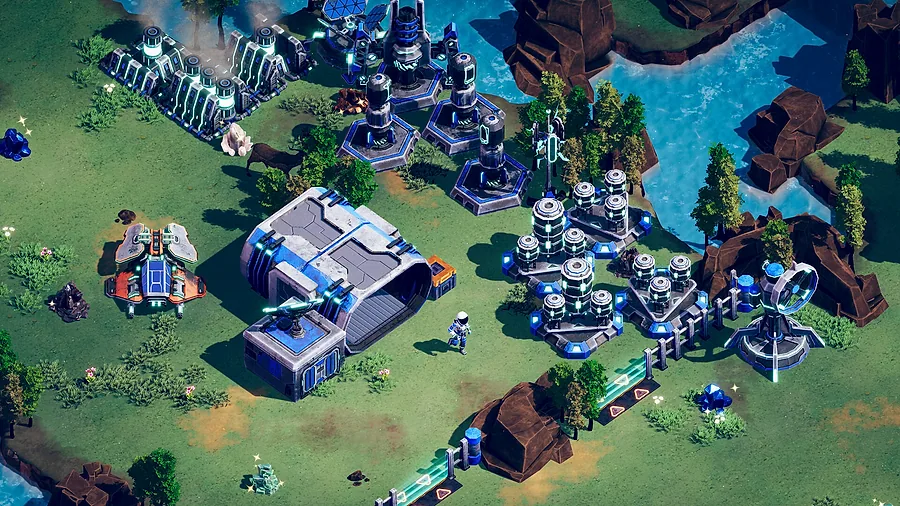
A good Project Tomorrow layout is compact, has one primary kill zone, and keeps terraforming machines behind the wall. The exact footprint depends on the region, but the patterns below cover the first three regions. Source: Project Tomorrow on Steam ↗
Base layout guides often turn into pictures of someone else's base with no explanation of why it works. This page is the opposite: five patterns, the problem each one solves, and the mistakes that break it. You can adapt them to any map because the underlying rules are the same.
The rules:
- One primary kill zone is better than three weak ones.
- Terraforming machines go behind the wall, not in front of it.
- Turrets overlap; walls do not sprawl.
- Housing and production go in the inner ring.
- Every layout needs a fallback line.
Pattern 1: The One-Lane Starter (Suncrest)
Suncrest announces a single attack direction. That makes the first layout almost a tutorial: a short wall chord across the approach, one gate in the middle, and turrets behind the wall.
            ENEMY APPROACH
                  ↓
        ┌───────┬───────┐
        │ WALL  │ GATE  │ WALL │
        └───────┴───────┘
          TURRET   WATCHTOWER
              ↑
        OXYGEN EMITTER
          HYDRO INFUSER
              ↑
           WINDMILL
          WORKBENCH / STORAGE
Why it works: the enemy must break the wall or funnel through the gate, and both paths are covered by the turret. The Watchtower adds your fire to the same kill zone. The terraforming cluster is behind the wall but close enough to the front that its green zone reaches the battlefield.
Mistakes to avoid:
- Building the wall too far forward, outside turret range.
- Putting the gate at the edge instead of the middle.
- Placing the emitter in front of the wall to "terraform faster".
- Walling the quiet sides and stretching the line.
This layout carries the first region. Do not overcomplicate it.
Pattern 2: The Two-Lane Cross (Tidehaven)
Tidehaven introduces multiple attack directions and flying enemies. A single wall chord no longer covers the base. The answer is not a wall around the entire perimeter; it is two kill zones with overlapping turret coverage and a rapid-response force.
        LANE A                 LANE B
          ↓                      ↓
     ┌────────┐            ┌────────┐
     │ WALL   │            │ WALL   │
     │ TURRET │            │ TURRET │
     └────────┘            └────────┘
          \                  /
           \   INNER BASE   /
            \  (housing,   /
             \ production) /
              \           /
               └─ RELAY ─┘
Key choices:
- Two turret clusters, not two full bases. Each lane gets one ground turret and one interceptor if the lane has air.
- Inner ring shared. Housing, workbench and storage sit in the middle, where either lane can reinforce.
- Relay at the centre. The Teleport Relay is your fallback and your rotation point.
- Walls short. A wall that covers the lane's width is enough; a wall around the map is not.
Tidehaven's flying enemies ignore walls. Put Interceptor coverage near the inner ring, not only at the front. The lane that receives air is the lane where ground-only turrets are least useful.
Pattern 3: The Terraformer Bastion
Terraforming machines are the aliens' primary target. A dedicated bastion protects the cluster without spreading your defense thin.
        ┌───────────────────┐
        │  WALL   WALL      │
        │   ┌───────────┐   │
        │   │ OXY  HYDRO│   │
        │   │  ↑    ↑   │   │
        │   │ THERMAL   │   │
        │   └───────────┘   │
        │   TURRET   TURRET │
        └───────────────────┘
                 GATE
The cluster sits in a walled pocket with one gate and two turrets covering the approach. The pocket is small enough that a single repair reserve can maintain it, and the adjacency bonus is maximized because the machines are adjacent.
Use this pattern when:
- The region has a long front and you cannot wall everything.
- You are pushing terraforming into a new area.
- A wave keeps targeting one emitter.
Do not build a bastion for every machine. One bastion for the main cluster is enough; a second cluster gets its own smaller pocket later.
Pattern 4: The Forward Mining Outpost
Resource nodes outside the green zone are expensive to reach. A forward outpost is a relay, a small walled pocket, a storage container and one turret.
        RELAY ─── WALL ─── WALL
                    │  STORAGE │
                    │  TURRET  │
                    └──────────┘
                         ↑
                    RESOURCE NODES
Rules for the outpost:
- Relay first. Without power, the outpost is a pile of materials.
- One turret, not three. The outpost is a tripwire, not a fortress.
- Storage inside the wall. The whole point is to leave ore there.
- No housing. Population belongs in the main base.
- Abandon it if the wave breaks it. Rebuilding a forward outpost during a wave is a waste of life.
The outpost pays for itself by shortening gathering trips. It does not need to survive a full assault.
Pattern 5: The Winterbloom Layered Defense
Winterbloom's heavy enemies and flying units punish a single wall. The answer is depth: three lines, each with a different job.
   ENEMY
     ↓
   ┌─────┐  OUTER WALL + NOVA MORTAR
   │     │
   └─────┘
     ↓
   ┌─────┐  MID WALL + GAUSS / INTERCEPTOR
   │     │
   └─────┘
     ↓
   ┌─────┐  INNER WALL + WATCHTOWER
   │     │  HOUSING / RELAY
   └─────┘
- Outer line: cheap walls and area damage. Its job is to slow, not to hold.
- Mid line: the real kill zone, with ground turrets and air coverage.
- Inner line: the last wall before housing, the relay and the terraforming cluster.
The layers should overlap in turret range, not in wall footprint. If the outer wall falls, the mid turrets are already firing. If the mid wall falls, the inner line buys time to retreat.
Winterbloom also needs Heat. Keep the Thermal Drill inside the inner line; a drill in the outer line is a free target.
Where housing goes
Housing belongs in the inner ring in every pattern. Habitats are expensive, consume Oxygen and only add population after a survived wave. A Habitat in the outer ring is a building you will lose before it pays for itself.
Place Habitats:
- Inside the green zone.
- Inside the power grid.
- Behind at least one wall line.
- Near the Teleport Relay, so new settlers are not exposed.
Do not build a separate housing district far from the base. The population does not need space; it needs safety.
How much wall is enough?
A useful test: walk the wall line and ask what each segment protects. If the answer is "empty ground", remove it. Walls should protect buildings, turrets and chokepoints, not the entire map edge.
A second test: if the wall breaks at its weakest point, can the turrets behind it still fire? If the answer is no, the wall is too far forward or the turrets are too close.
Adapting the patterns
These layouts are starting points, not blueprints. The terrain, resource nodes and attack lanes change the footprint. The constants are:
- Compact base.
- One primary kill zone per lane.
- Terraformers behind the wall.
- Housing in the centre.
- A fallback line.
- A repair reserve.
If a layout fails, identify which constant you broke before you copy a different picture.
The base building guide→ explains the placement rules, and the turrets guide→ explains which turret belongs in each layer.
FAQ
What is the best base layout in Project Tomorrow?
There is no single best layout. A compact one-lane wall with overlapping turrets works in Suncrest; Tidehaven needs two kill zones and air coverage; Winterbloom needs layered walls.
Should I wall my entire base?
No. Wall the attack lanes and the buildings you cannot afford to lose. A wall around empty ground wastes materials.
Where should terraforming machines go?
Inside the wall, inside the power radius, adjacent to each other, behind a turret. They are the primary alien target.
How many turrets do I need per lane?
One ground turret covering the gate is the minimum. Add a second for air or a second lane, not for empty ground.
Sources
Official source: Project Tomorrow on Steam ↗ Project Tomorrow guides and walkthroughs