
Project Tomorrow Defense Guide: Survive Every Wave
A practical Project Tomorrow defense guide: wave timers, early calls, wall repair rules, target priority, flying enemies and what to do after a breach.
Waves in Project Tomorrow are announced by a timer. The timer pauses during a wave, walls that survive repair themselves, and destroyed walls must be rebuilt by hand. The core skill is preparing before the timer ends, not clicking faster during the fight. Source: Project Tomorrow on Steam ↗
Defense is the loop that gives Project Tomorrow its shape. You build, the planet pushes back, you rebuild. A player who treats the wave as a combat encounter loses buildings; a player who treats it as a maintenance deadline keeps the base intact.
This guide covers the timer, the pre-wave checklist, what to do during the fight, and the mistakes that turn a survivable wave into a rebuild.
Read the wave timer first
The wave timer sits in the corner of the screen. It counts down to the next attack and shows the direction if the region announces one. In Suncrest, the first region, the initial attacks come from a single direction, which is why the starter layout works.
Two rules matter:
- The timer pauses during a wave. You are not racing the next wave while fighting the current one. Use the breathing room to gather and repair.
- Every build and gather action advances the timer. The timer is not purely real-time. If you chain-build, you shorten your own preparation window.
The practical habit is to check the timer after every build. If it is under a minute, stop building and walk the wall.
Call the wave early?
In the demo, holding Enter calls the next wave early. That sounds like a challenge option, but it is also a planning tool:
- Call early when your defense is ready and you want the Upgrade Cores now.
- Call early when the timer would otherwise expire while you are far from base.
- Do not call early when a wall is missing, a turret is unpowered or your health is low.
The benefit of an early call is tempo: you finish the wave on your schedule and get the cores sooner. The cost is that you fight with whatever is on the field at that moment. If the answer to "is the wall complete?" is no, wait.
The pre-wave checklist
Run this list before every wave. It takes less than a minute once the base is stable.
- Power. Is the bar below 70%? If not, add a windmill or remove a nonessential building.
- Wall. Is the announced lane covered? Are there gaps at the gate?
- Turrets. Are they loaded, powered and in range of the gate?
- Terraforming cluster. Is it inside the wall? Is a turret covering its front?
- Repair reserve. Do you have enough Iron to rebuild two wall segments?
- Character. Health full, oxygen supply, medical item, weapon reloaded.
- Housing. If a Habitat is under construction, is it inside the green zone?
- Retreat path. Can you reach the Teleport Relay or the inner ring if the gate falls?
If any answer is no, fix that item before the timer ends. Do not start a new building.
During the wave
The wave itself is mostly positioning. Your turrets do the damage; your job is to:
- Hold the kill zone. Stand where the Watchtower or turret coverage overlaps the gate.
- Finish stragglers. The Pulse Pistol automatically acquires targets; use it on enemies that slip past the wall.
- Watch the air. Flying enemies ignore walls. If the region has air, stay near the interceptor coverage, not the gate.
- Do not repair under fire. Repair is disabled during a wave. Fall back instead.
- Protect the terraforming cluster. If a group breaks through toward the machines, intercept it before it reaches them.
Do not chase enemies into the wasteland. A wave that pulls you away from the base is a wave that hits an undefended wall.
When the wall breaks
A breach is not a loss. It is a change of plan.
- Fall back to the next line. Do not stand in the gap.
- Let the turrets behind the wall fire. The second line should already cover the breach.
- Use the gate as a choke. Enemies that funnel through one cell are easier to kill than enemies spreading through a hole.
- Protect the terraformers first. A lost wall is replaceable; a lost cluster is a setback.
- Rebuild after the wave. Not during.
If the breach reaches housing, the wave is already a failure of layout, not of clicking. Fix the wall line before the next wave.
After the wave
The post-wave window is the most valuable time in the game:
- Repair destroyed walls. Surviving walls self-repair; destroyed segments do not.
- Spend Upgrade Cores. Upgrade the emitter, the main turret or the wall, in that order of need.
- Collect the wave drop. Cores and resources are the reward for surviving.
- Check population. Habitats that survived the wave may add population.
- Re-check power. A new turret or Habitat may push the grid over the limit.
- Scout the next lane. If the region has more than one approach, the next wave may use it.
Do not immediately start a long expedition. The next timer is already running.
Target priority
When several enemies are on screen, prioritize:
- Enemies attacking the terraforming machines. They are the primary target and the most expensive loss.
- Flying enemies heading for the inner ring. Ground turrets cannot hit them.
- Heavy enemies at the gate. They open the breach for everything else.
- Swarms inside the wall. They are already through; kill them before they spread.
- Stragglers outside. They are not a threat until they reach a wall.
Your personal weapon is best used on the third and fourth categories. The turrets handle the first two if they are placed correctly.
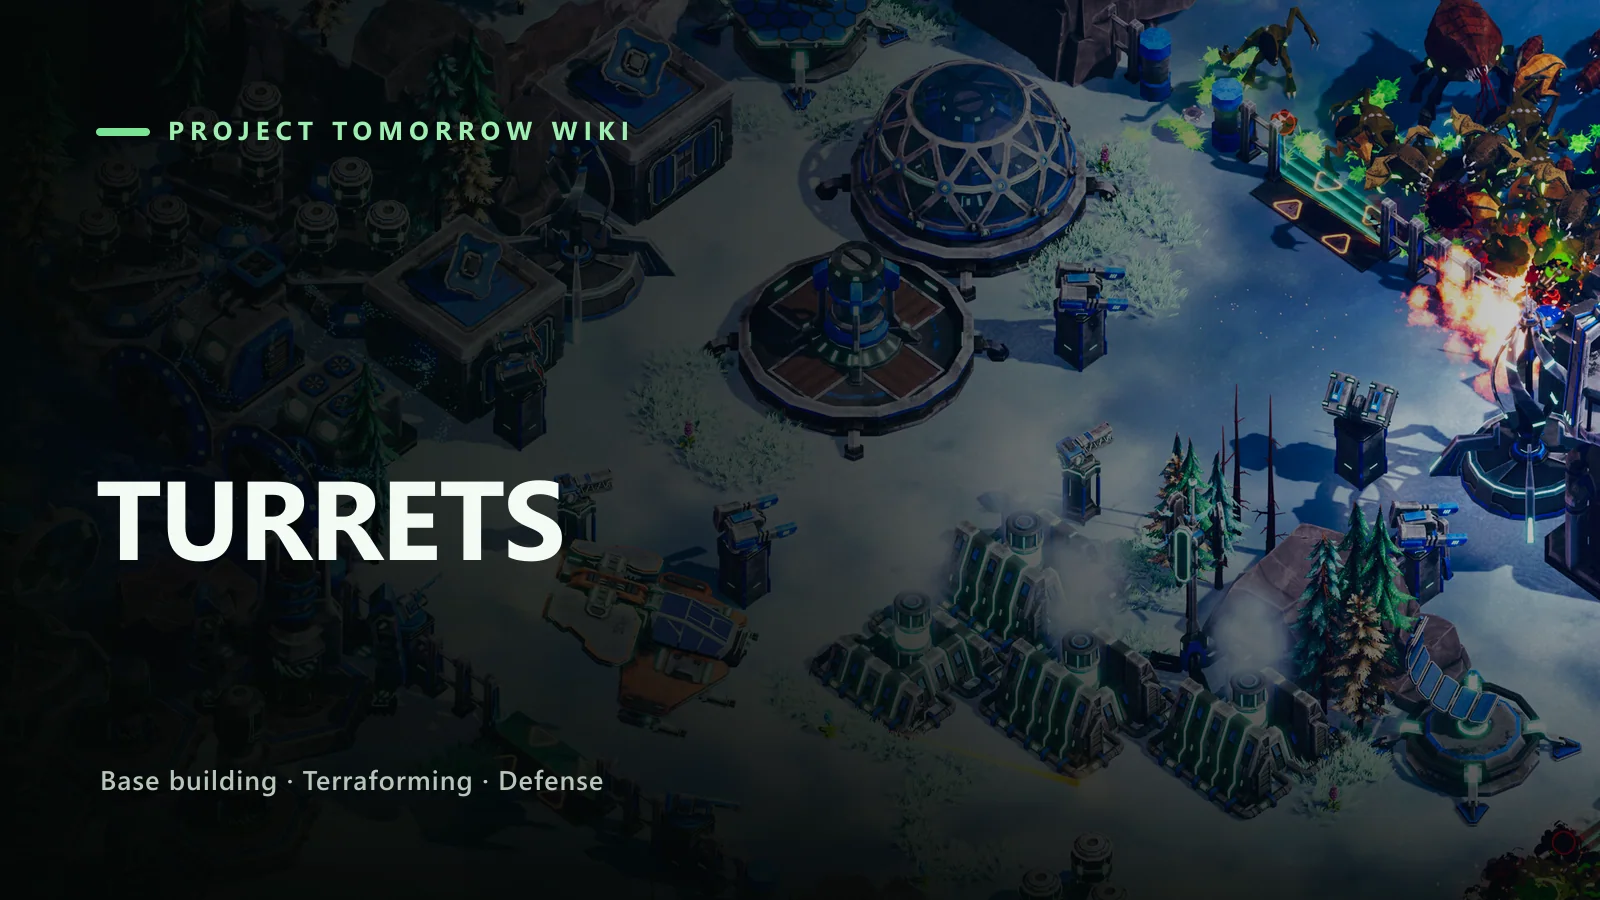
Defense layers
A single wall is a single failure point. A layered defense gives the turrets time to work:
- Outer line: cheap walls, area damage, slow the wave.
- Mid line: the main turret kill zone.
- Inner line: housing, relay and terraforming cluster.
The layers should overlap in turret range. If the outer wall falls, the mid turrets should already be firing. If the mid wall falls, the inner line buys time to retreat.
The base layouts guide→ shows the three-layer Winterbloom pattern and the one-lane starter.
Nests and the map
Alien nests are active threats, not decoration. They spawn enemies and can attack the base. Do not build next to a nest unless you are prepared to clear it. Do not clear a nest during a wave.
If a nest sits between you and a resource field, the field is effectively contested. Clear the nest first or route around it. A forward outpost next to a nest is a forward outpost you will lose.
Wave scaling
The wave difficulty increases with region progression and with your actions. Building and gathering advance the timer, so a fast economy also means faster attacks. That is the core trade of the game: every step toward restoring the planet invites a response.
The counter is not to stop building. It is to build in the right order: defense first, economy second, housing third. A base that survives can always build more; a base that is destroyed loses the resources and the time.
Common defense mistakes
Repairing during a wave. You cannot. Fall back.
Chasing kills outside the wall. The wave is not a kill race; it is a hold.
Ignoring air. Flying enemies bypass walls. Interceptors or personal fire are the answer.
Building a turret without power. An unpowered turret is a decoration.
Walling the wrong lane. Check the announced direction.
Spending all cores on damage. A stronger wall or a second turret often prevents more damage than a damage upgrade.
Skipping the post-wave repair. The next wave will hit the same gap.
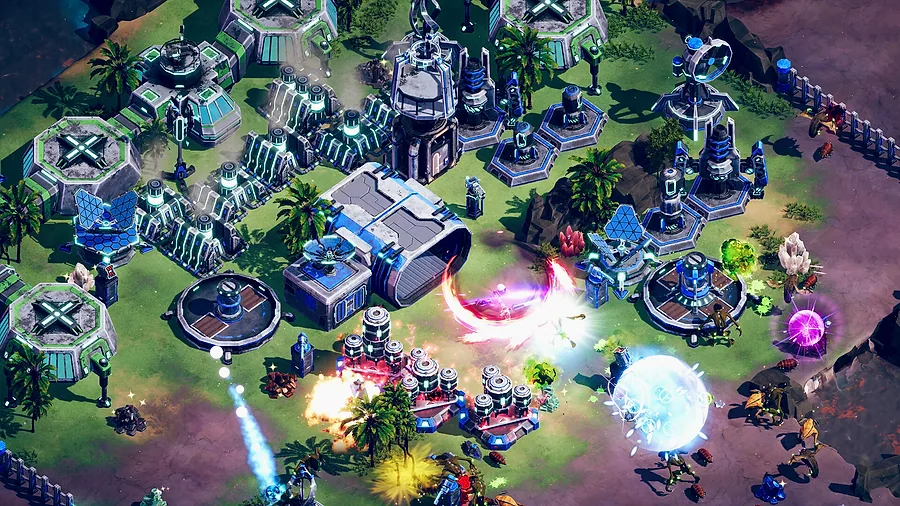
The turrets guide→ explains which weapon covers which enemy. The enemies guide→ covers the flying and heavy types.
FAQ
Can I repair walls during a wave in Project Tomorrow?
No. Repair is disabled during a wave. Walls that survive repair at the end of the wave; destroyed walls must be rebuilt afterward.
Should I call waves early?
Only when your wall, power and turrets are ready. An early call gives you cores sooner but fights with the base you have at that moment.
How do I stop flying enemies?
They ignore walls, so use Interceptor turrets or your personal weapon. Keep air coverage near the inner ring, not only at the front.
Why do enemies attack my terraforming machines?
They are the primary target by design. Wall the cluster and put a turret between it and the approach.
Sources
- Project Tomorrow on Steam ↗
- Project Tomorrow Steam news ↗
- Wolfman Mazy demo gameplay ↗
- Project Tomorrow achievements ↗
Official source: Project Tomorrow on Steam ↗ Project Tomorrow guides and walkthroughs