
Project Tomorrow Beginner Guide: Your First Region
A complete Project Tomorrow beginner guide: windmill placement, oxygen, terraforming, your first wave, housing and the mistakes that stall a new base.
Your first region is a tutorial in disguise. Build a windmill for power and build range, place an oxygen emitter, keep your machines inside the green zone, and defend the single attack direction. Population comes after survived waves, not from building houses early. Source: Project Tomorrow on Steam ↗
Project Tomorrow gives you a lot of systems at once: power, oxygen, water, heat, housing, terraforming, turrets and a wave timer. The quests walk you through them, but they do not always explain the order that keeps a new base alive. This guide follows the first region from the opening minute to the first population goal, using the demo build and the released game's own tutorial structure.
The short version: power first, oxygen second, terraforming third, defense before the timer runs out, housing only after you can hold a wave. Everything else is an expansion of that sequence.
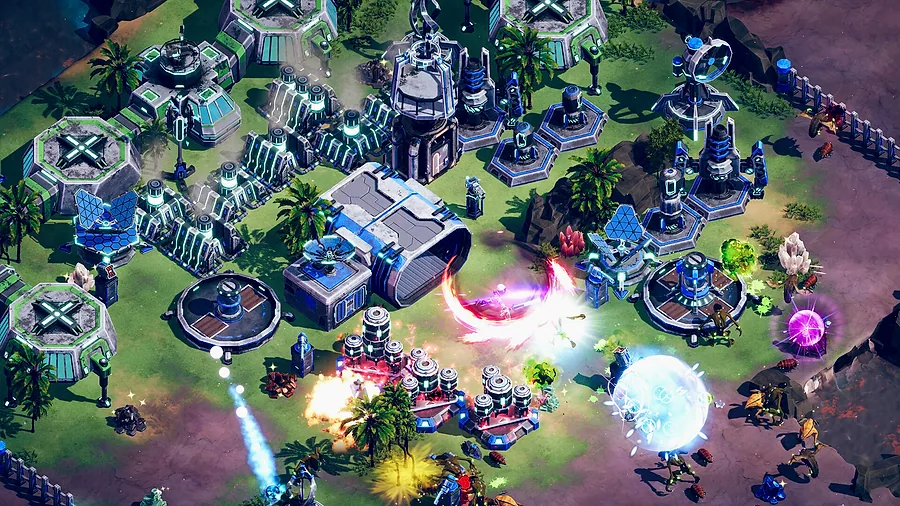
Step 1: Learn the camera before you build
Spend a minute on the camera. You need to pan across the base, rotate to see the attack direction, and zoom in far enough to place buildings on the hex grid. The camera is the most common source of early frustration: players try to place a windmill from a top-down angle, misjudge the footprint, and waste a placement.
Zoom in when placing, zoom out when reading the wave. The game is readable at a distance, but the build menu is not. If the footprint preview is hard to see, rotate the camera so the grid lines run vertically and horizontally on your screen.
Step 2: Build the windmill immediately
The windmill is the first building for a reason. It provides power and a build radius. You cannot place most structures outside the area it projects. In the demo, a windmill costs one Cobalt and one Iron, and the tutorial gives you enough to build two. Build the first one near the centre of the starting clearing, then use the second to extend your reach toward the resource nodes you want.
Do not place the windmill at the edge of the map. It is a power source, not a wall, and it will be targeted during waves. Keep it behind the line you intend to defend.
Power is not the same as Heat. The windmill generates electricity for buildings. Heat is a terraforming resource produced by Thermal Drills later. New players see two "power" bars and assume they are the same thing. They are not.
Step 3: Gather with a purpose
The starting area contains Cobalt, Iron, Silicone, Copper and Magnetite. You do not need all of them before the first wave. The early priorities are:
- Iron for structures, turrets and repairs.
- Silicone for the oxygen emitter and the workbench.
- Cobalt for the second windmill and early power infrastructure.
- Copper for upgrades and later electrical components.
- Magnetite for housing frames and advanced construction.
Gather the nodes inside your build radius first. Every gathering action advances the next wave, so do not strip the entire map while the timer runs. Take what the next two buildings need, then return to base and build.
Deconstructing a building refunds its full cost in the demo. That makes experimentation cheap. If you place a turret facing the wrong approach, move it rather than living with it.
Step 4: Place the oxygen emitter
The oxygen emitter is the first terraforming machine and the first real decision. It costs Iron and Silicone, produces an initial chunk of Oxygen, and generates green ground around itself. Oxygen is your survival meter: inside the green zone you are stable, outside it you drain, and back inside you recover.
Place the emitter on the side of the base you intend to expand toward, not in the middle of the starting clearing. The green zone is both a safety bubble and a visual boundary for future buildings. Adjacent terraforming machines receive a stacking bonus, roughly 20% per additional machine in the demo, so plan a cluster rather than scattering emitters across the map.
The emitter is also a target. Aliens attack the machines that are changing the planet. Build it behind a wall or inside the turret coverage you will add before the first wave.
Step 5: Build the workbench and gear up
The workbench unlocks suit upgrades and weapons. In the demo it costs one Silicone, which makes it one of the cheapest and most valuable early buildings. Build it as soon as you have the silicone, then check what it offers before you spend resources on another turret.
Your starting Pulse Pistol automatically targets enemies, but it is not a main damage source. The workbench is where you turn the character into a useful supplementary defender: better weapons, suit upgrades and consumables. Do not ignore the character entirely. A player who stands in a Watchtower during a wave contributes more than a player who hides behind the wall.
Crafting is also where you make oxygen supplies, water, rations and medical items. Keep one oxygen supply and one medical item in your inventory before the first wave. The crafting guide→ covers the full item list and priorities.
Step 6: Prepare the first wave
The starting region has one attack direction, announced by the terrain and the tutorial. That is a gift. You only need to fortify one approach, not surround the base.
Before the timer ends:
- Build a short wall line across the attack corridor, with a gate for your own movement. Walls snap to each other, so drag the line rather than placing them one by one.
- Place one Pulse Turret behind the wall, close enough to cover the gate and the wall segment in front of it. Do not put the turret outside the wall where it can be surrounded.
- Keep a repair reserve. You cannot repair during a wave in the demo, so the wall either holds or it does not. Build a second layer behind the first if you have the materials.
- Enter the Watchtower if you built one. It increases your range and fire rate, and it keeps you out of melee.
- Hold, do not chase. The wave is coming to you. Leaving the base to kill stragglers pulls you away from the breach.
The first wave is small. Its job is to teach you that walls buy time and turrets do the killing.
Step 7: Survive, then grow population
Housing is the long-term progression. A Habitat consumes a Housing Frame and Oxygen, and the price rises with each additional habitat. The important rule is that population increases after you survive a wave, not the moment you place the house. Building ten habitats before your defenses are ready just gives the aliens more to destroy.
The demo's population goal is 30, and reaching it completes the region with a four-star rating. Five stars requires continuing to develop the region after the goal. In the release build, the three regions use the same structure: restore the region, hit the population target, and move on through the Teleport Relay.
Build one Habitat when you have a stable defense, then add another after each survived wave. Keep the housing cluster inside the green zone and inside your power grid. A Habitat without oxygen or power is a wasted frame.
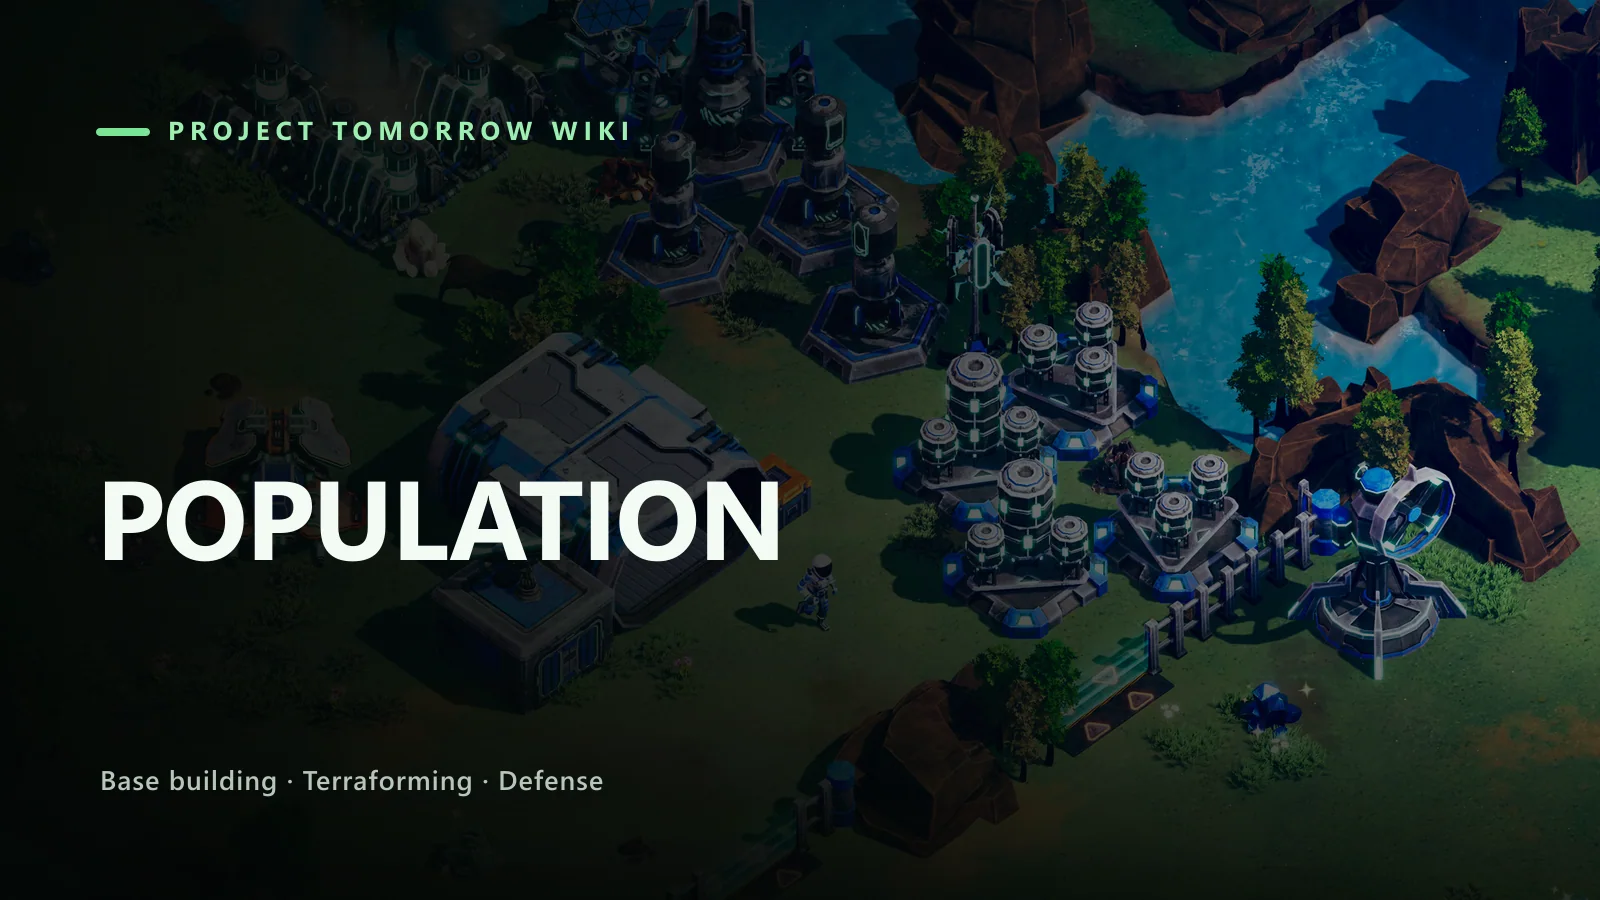
Step 8: Expand the terraforming cluster
Once the first wave is down, the real game begins. Add a Hydro Infuser to produce Water and spread the green zone, then a Thermal Drill for Heat. Place them adjacent to the oxygen emitter to stack the bonus. Upgrade the cluster before you build a second cluster; concentrated terraforming is easier to defend and produces more visible results.
Terraforming is not a passive meter. It grows through buildings, upgrades and surviving attacks. Every action you take also pushes the next wave, so expansion and defense are on the same clock. The terraforming guide→ has the full staged roadmap.
The five mistakes that stall a new base
- Building outside the windmill radius. The building will not place, or it will sit unpowered. Extend the grid with a Power Relay before you expand.
- Ignoring oxygen. Players treat the green zone as cosmetic, wander into the purple wasteland to gather, and die on the way back. Watch the meter.
- Overbuilding housing. Population is gated by survived waves. Houses are not the bottleneck; defense is.
- Spreading turrets thin. One turret covering the gate is worth three turrets covering empty ground. Concentrate fire.
- Skipping the workbench. The character is weak without gear, and the workbench is cheap. Build it before the second wave.
FAQ
How do I get more oxygen in Project Tomorrow?
Build Oxygen Emitters and keep them alive. Each emitter adds oxygen and creates green ground; adjacent emitters stack a bonus. Standing in the green zone restores your oxygen.
Why can't I build in Project Tomorrow?
You are outside the build radius. Windmills project the initial radius, and Power Relays extend the grid. Place a relay closer to the expansion site.
When does population increase?
After a survived wave, not when the Habitat is placed. Build housing when your defense can hold, then let the wave completion add the population.
How many regions are in Project Tomorrow?
Three at Early Access launch: Suncrest, Tidehaven and Winterbloom. Suncrest is the tutorial region.
Sources
- Project Tomorrow on Steam ↗
- Project Tomorrow Steam news: Early Access content ↗
- Project Tomorrow achievements ↗
- Wolfman Mazy demo gameplay ↗
Official source: Project Tomorrow on Steam ↗ Project Tomorrow guides and walkthroughs