
Project Tomorrow Tidehaven Guide: Automation and Air Defense
How to clear Project Tomorrow's Tidehaven region: Resource Hub automation, food and water production, flying enemies, Interceptors and two-lane defense.
Tidehaven is Project Tomorrow's second region and its automation chapter. The Resource Hub adds storage and gathering drones, food and water must be produced locally, and flying enemies force you to build Interceptors instead of relying on walls. Source: Project Tomorrow Steam news: Tidehaven ↗
Tidehaven changes the game's rhythm. Suncrest is about building a compact base and surviving one lane. Tidehaven is about running an economy across a volcanic wasteland while enemies come from more than one direction and some of them fly over your walls.
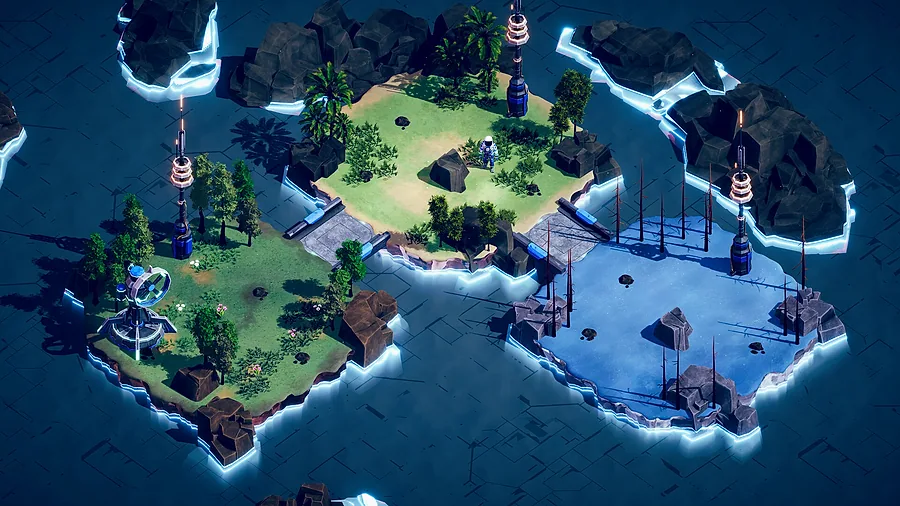
The region was added in the September 16 patch. The patch notes describe a volcanic wasteland turning into a tropical oasis, automated gathering, scarce supply crates, flying enemies, and two new turrets. This guide turns those changes into an order of operations.
What changes in Tidehaven
- Resource Hub. Stores resources and sends drones to gather them. Automation replaces some manual trips.
- Food and water production. Supply crates are scarcer; you need Grow Pods and water production.
- Flying enemies. They cross walls and attack the base interior.
- Interceptor. Anti-air turret, strong against air and weak against ground.
- Nova Mortar. Area-damage turret, slow but effective against dense pushes.
- Multiple lanes. The base needs two kill zones, not one wall chord.
The region is also the point where the wave timer becomes an economic constraint. Every automated harvest advances the next wave, so a fast Resource Hub accelerates both your income and your danger.
Opening order
- Windmill and Oxygen Emitter. Establish the build radius and the green zone.
- Workbench. Gear and consumables before the first long wave.
- Resource Hub. This is the region's signature building; build it early enough to pay for itself.
- Food and water production. Do not wait for the supply crates to run out.
- Wall the two lanes. Short walls, one gate each.
- Pulse Turrets at both gates. Ground coverage first.
- Interceptor near the inner ring. Air coverage before the first flyer wave.
- Nova Mortar in the primary kill zone. Add it when the swarms thicken.
- Habitats and population. Once the defense and food chain are stable.
The Resource Hub is tempting to rush. Build it, but do not spend the entire first wave's prep on automation. A hub with no wall is a liability.
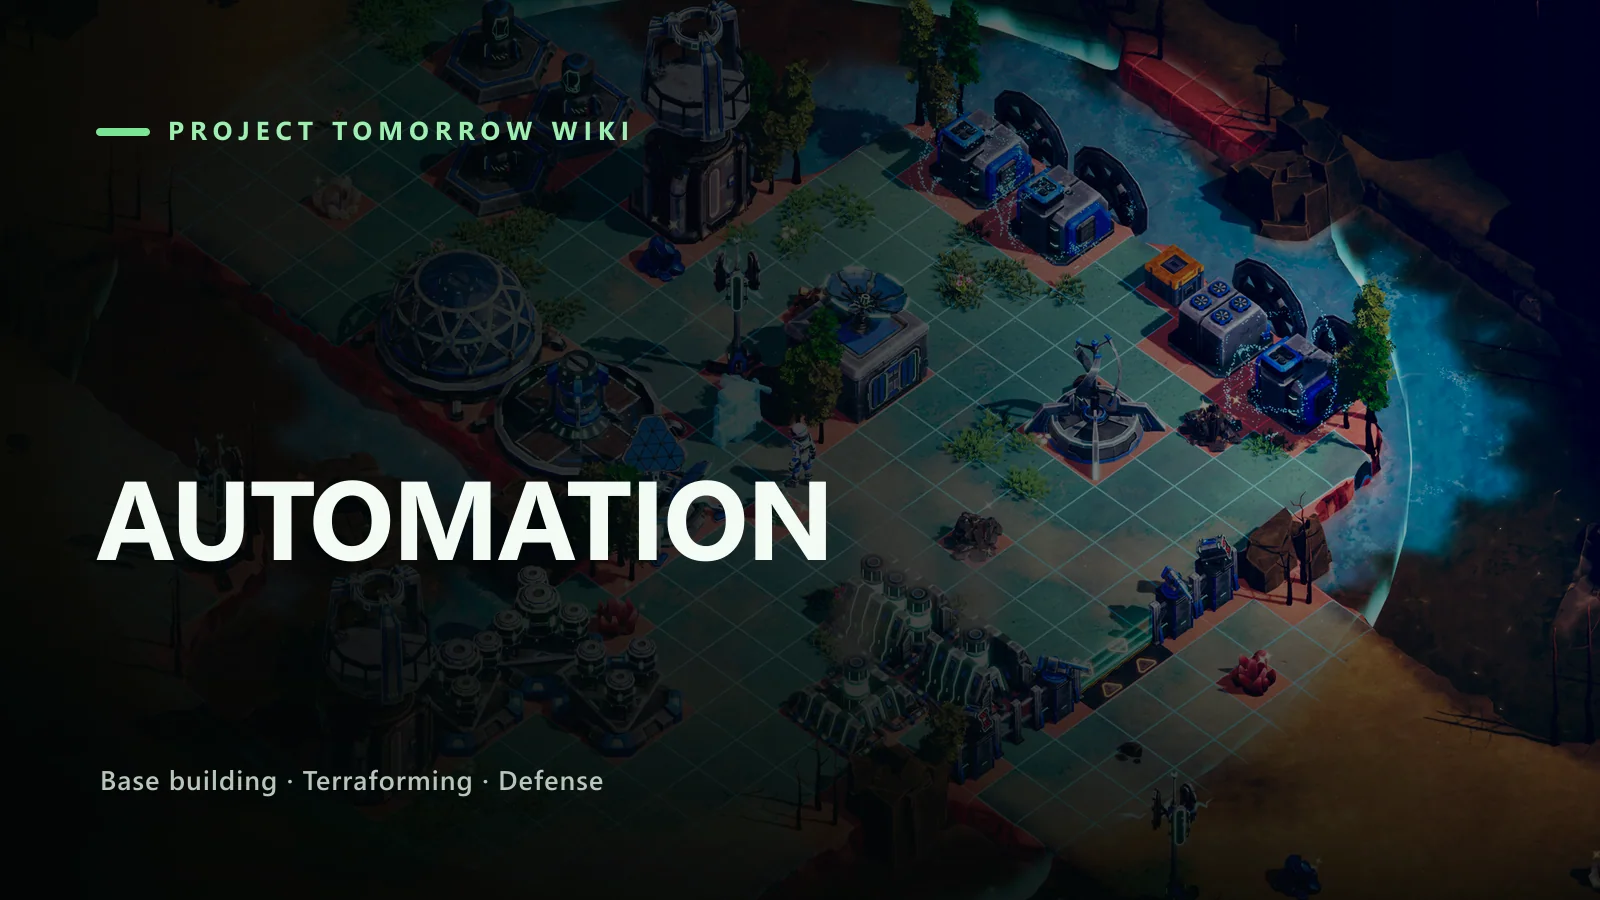
Automation without losing control
The Resource Hub's drones gather resources over time. The catch is that every harvest advances the wave timer. Automation is not free time; it is a faster clock.
Rules:
- Do not queue every node. Pick the two or three resources the current build needs.
- Pause automation before a wave if the game allows it. If not, accept that the timer will move.
- Keep storage inside the wall. A hub outside the wall is a gift.
- Use the stored resources for defense first. Automation that funds a fifth turret is good; automation that funds a decoration is not.
The hub's extra storage also reduces manual hauling. Connect it to the Resource Uplink network so crafting can pull from it.
Food and water
Tidehaven's supply crates are limited. The patch notes are explicit: you need to build food and water production to avoid starvation and dehydration.
- Water: build the water production building early. Dirty water damages health; clean water is a survival requirement, not a luxury.
- Food: Grow Pods produce food. Place them in the green zone, inside the wall.
- Buffer: keep at least two full cycles of food and water before a long expedition.
- Priority: water first, food second, housing third. Dehydration kills faster than hunger in the early region.
The survival guide→ covers the meters and the production chain.
Defending two lanes
Tidehaven's multi-lane attacks make a single wall chord obsolete. The efficient pattern is:
- Two short walls, one per lane, each with a gate.
- One ground turret per gate, overlapping the other lane's arc where possible.
- One Interceptor covering the inner ring, not the gate.
- One Nova Mortar behind the primary kill zone.
- A central relay for rotation and retreat.
Do not build a wall around the entire perimeter. The lanes are the threat; empty ground is not.
The base layouts guide→ has the two-lane cross diagram.
Flying enemies
Flying enemies are the region's defining threat. They ignore walls and head for the base interior, where your housing and terraforming cluster live.
Countermeasures:
- Interceptor near the inner ring. Its anti-air strength is wasted at the front.
- Watchtower over the housing. Your personal weapon plus the range boost covers the air lane.
- Do not overbuild ground turrets. A base of Pulse Turrets loses to an air wave.
- Accept that some flyers reach the base. The Interceptor and your character are the response, not the wall.
The enemies guide→ explains the flying category in more detail.
Terraforming in Tidehaven
The region's goal is to turn the wasteland into an oasis. The terraforming cluster works the same way as in Suncrest, but the stakes are higher:
- Water is scarcer, so the Hydro Infuser matters more.
- Heat is more available, but the Thermal Drill still needs defense.
- The green zone is the food zone, so expanding it expands your food production.
- The cluster is an air target, so keep an Interceptor nearby.
Build the cluster behind the primary wall, adjacent to the food production. Do not scatter machines across the two lanes.
Population and completion
Tidehaven's population target is reached the same way as Suncrest's:
- Craft Housing Frames.
- Build Habitats inside the green zone and the power grid.
- Survive a wave.
- Repeat.
The difference is the cost. Habitats consume more Oxygen as the count rises, and Tidehaven's economy is more complex. If you cannot afford the next Habitat, check the Hydro Infuser and the oxygen cluster before you build more housing.
Common Tidehaven mistakes
Rushing the Resource Hub. Automation without defense is a faster loss.
Ignoring food and water. Supply crates run out.
One wall for two lanes. The second lane arrives undefended.
Interceptors at the gate. They are weak to ground and out of position for air.
Building the terraforming cluster outside the wall. Flyers and ground units both reach it.
Spending all resources on automation. The wave timer does not care.
The automation guide→ covers the Resource Hub in detail. The walkthrough→ puts Tidehaven in the full region order.
FAQ
What is new in Project Tomorrow's Tidehaven region?
Automation through the Resource Hub, local food and water production, flying enemies, the Interceptor and Nova Mortar turrets, and multi-lane attacks.
Why do my walls not stop the flying enemies?
Flying enemies cross walls by design. Use Interceptors near the inner ring and your personal weapon.
Do gathering drones advance the wave timer?
Yes. Each automated harvest counts as an action and advances the next wave.
Where should the Resource Hub go?
Inside the wall, near storage and the power grid. It is an economic building, not a forward outpost.
Sources
- Project Tomorrow on Steam ↗
- Project Tomorrow Steam news: Tidehaven ↗
- Project Tomorrow achievements ↗
- Wolfman Mazy demo gameplay ↗
Official source: Project Tomorrow Steam news: Tidehaven ↗ Project Tomorrow guides and walkthroughs